Author: Rosie

New Mix ‘N Match Greeting Card Sets Added to Shop

Just a quick note to let you know that you can now create your own custom greeting card set by choosing from any of my designs.

MixNMatchGreetingCards-Blog

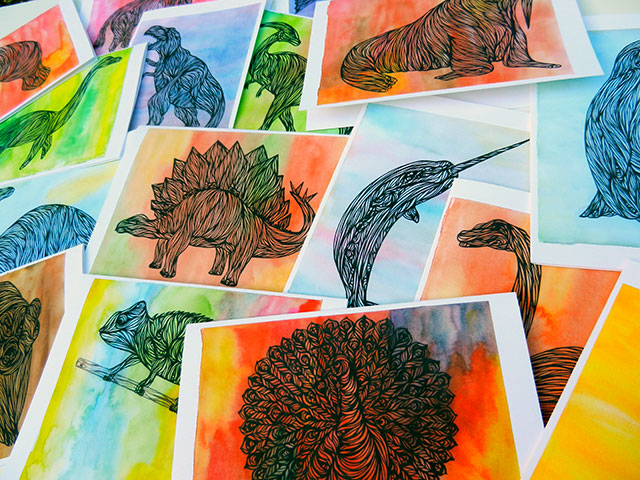
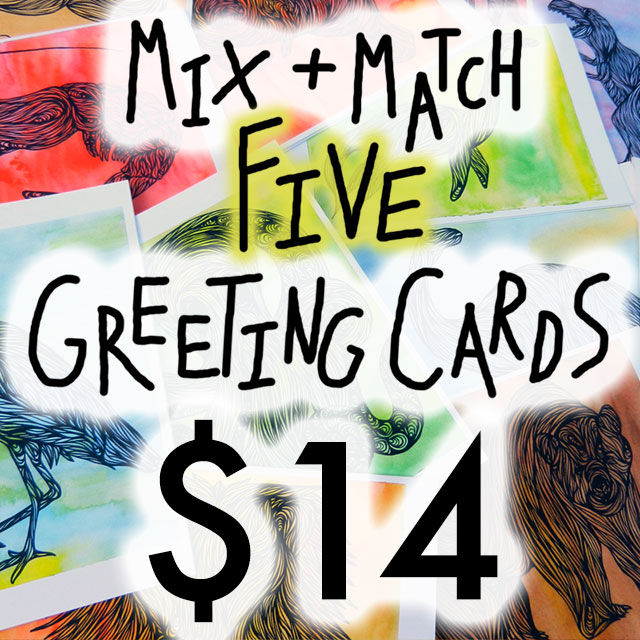
Choose any five cards for $14! It’s the same thing as buying four cards and getting one free. Five premium white envelopes are included. Choose from any of my swirly animals, dinosaurs – any of my designs! All of my greeting cards are listed individually in their own section of my shop here.

GreetingCardPile

Happy choosing!

Matchbox Mixed Media Sculpture Featuring a Sweet Viking Ship and Champy

Recently I was asked by my friend, Emily (via Robert!), to create a small artwork out of a matchbox to be auctioned off at a Matchbox Gala, benefiting Naropa Community Art Studio – International. NCAS-I is an organization created to provide art therapy to those in need, around the world. They are currently getting ready to travel to Cambodia to help survivors of sex-trafficking. This project sounded right up my alley, so I gladly agreed!

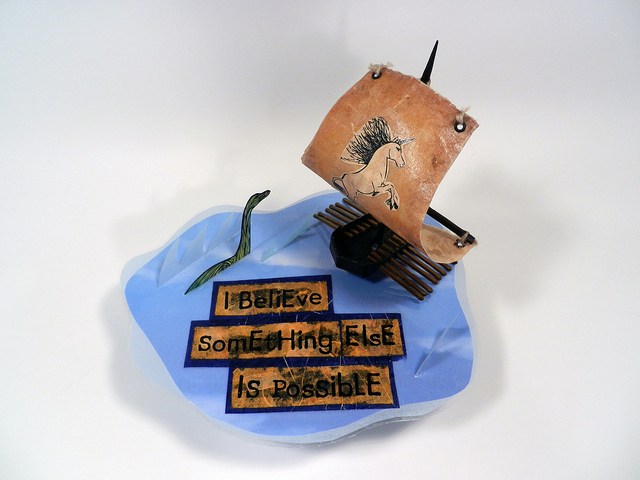
Here is my finished matchbox creation:
Matchbox Art - Finished Whole 1

Oh…holy cow! I mean, it’s pretty great. It’s got a viking ship AND a Champy. I mean, come on, isn’t it the bomb?! I am very happy with the way it turned out! I am also a little frightened to mail it off to Boulder for the gala! You can find out all the steps I took to make this by reading below, complete with pictures!

I was provided a matchbox to use. It came in the mail in a cute little bag with a stamped card:
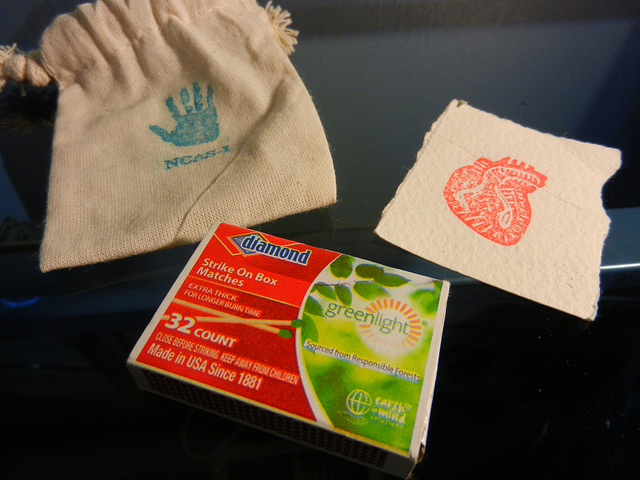
Matchbox - Just Arrived

I immediately had an awesome idea! I knew right away that I wanted to make the matchbox into a viking ship, using the matches as the oars that stick out from the ship’s body through holes in its side. After a little bit of careful deconstruction, cutting, and reconstruction, I had my ship’s body and oars:
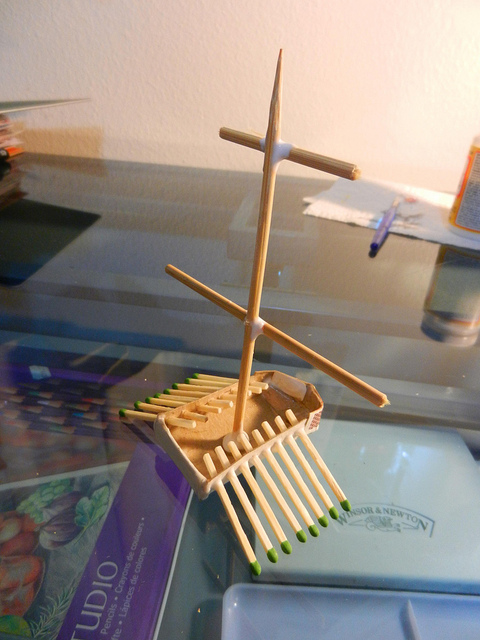
Matchbox Art - Ship Construction

The next step was painting the ship and making the sail. But, I had to wait for the glue to dry first. The hardest part of this whole operation, was waiting for the glue to dry. I just wanted to keep going! I used my hair dryer to speed up the drying process, but it still took quite a bit of time. I painted the ship’s body dark brown, and them mixed a lighter yellow/green/brown for the oars.
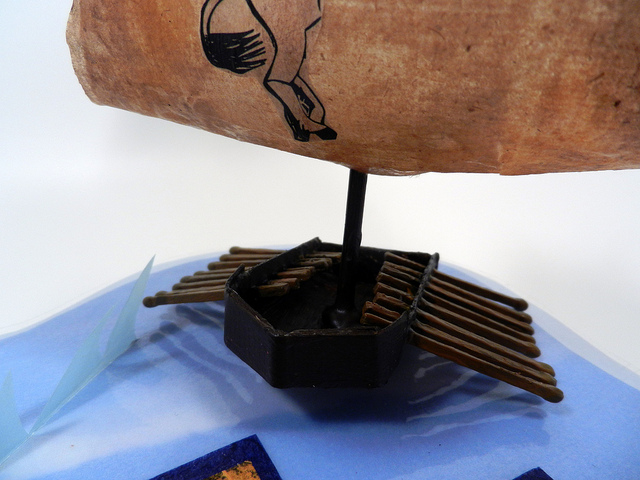
Matchbox Art - Ship Front Close

You can see a sneak peek of the sail above. The sail was a fun little project. I looked through my paper stash and found a light brown, thin paper, similar to the brown paper towels you find in public bathrooms. I cut out the shape of the sail, and used a bit of watercolor to add some darker tones around the edge of the sail. Then, I covered it all in Mod Podge to make it sturdier and give it an aged finish. The sail looked good, but it looked a bit plain to me. I figured it needed a sigil (don’t we all?). I know fewer magical creatures more badass than a unicorn, so unicorn it was! I also knew I had a previous drawing of a unicorn from one of my art calendars I could use. I used Photoshop to grab the outline of the unicorn, printed it out, painted it, and used Mod Podge to add it to the sail. I am very happy with the way the sail came out:
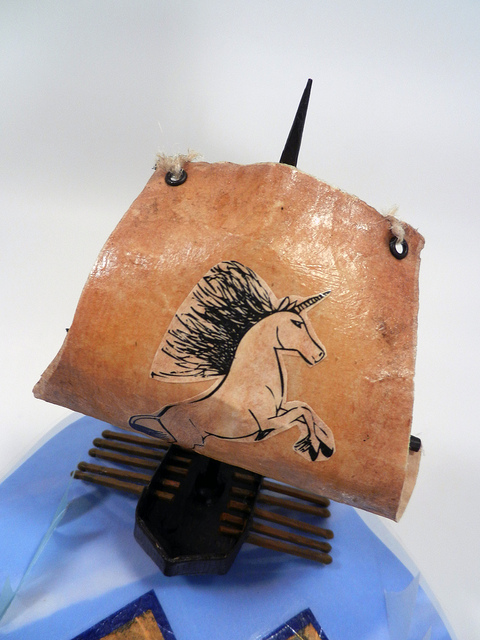
Matchbox Art - Sail Front Close

You can see I used a few metal brads in the sail’s corners to make nice holes I could use to tie the sail onto the mast. I used some twine to tie the sail onto the mast and then reinforced it with Mod Podge. I also added some more twine to the mast joins for decoration:
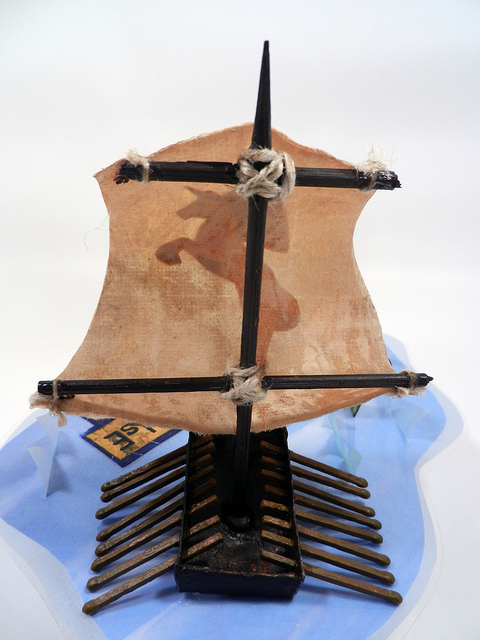
Matchbox Art - Ship Back Close

The mast was made out of a kebab skewer that I found in one of our kitchen drawers. (Isn’t it the most beautiful ship you have ever seen with a kebab?)

I feel like the ship would have been a great finished project on its own, but I couldn’t stop there. Why? Because, another thing I was DEAD SET on from the beginning, is including a Champy! (If you are not familiar with Champy, please read about him here. I grew up in Champy’s hood.) In order to have a Champy in the piece, there has to be a body of water. I cut out the shape for the sea from a piece of blue vellum, and also a blue paper printed with a photographic cloud scape. I laminated it using a sheet of self-seal laminating plastic from the office store, and BAM! instant sea! You can see it nicely in the photo above.

To create Champy, I printed out two small images of my swirly drawing of Champy on art paper. The two images mirrored each other. Then, I cut both Champys out, and glued them together, so his image would be on both sides. Now it was time to put it all together:

Matchbox Art - Champy Finished Ship and Sea

I wanted Champy to look like he was swimming in the water. So, I used my knife and cut a slot in the sea that he could fit through. You can barely see the slit I cut in the above picture. It is in the sea right above Champy and to the left of the ship. This was a bit nerve-wracking, because it had to be kind of precise. After I cut out the slot, I pushed Champy through and glued him there. I like how his legs and tail dangle beneath the surface:
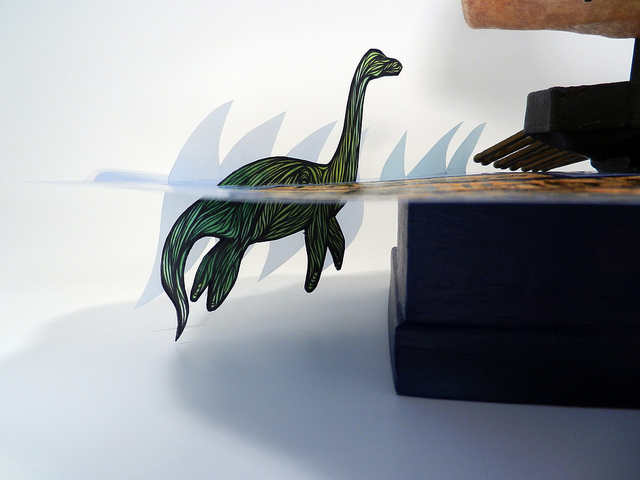
Matchbox Art - Champy Bottom Close

In order for Champy to dangle like that, I needed to have a base to hold this whole thing up. I didn’t know how I was going to do that, but I knew I would figure it out, so I didn’t worry about it. I wasn’t really thinking about the base when I found a jewelry box underneath my drawing desk. It must have fallen and gotten kicked down there a while ago. I picked up the box, opened it up, turned its lid upside down, turned it’s bottom upside down, put the bottom on top of the lid and I had the perfect base for my project. Totally serendipitous. I glued the base together and painted it dark blue to match the sea. I waited until the very end to glue the sea onto the base.

By now, I was kind of ready to be done with this freaking thing, but there was more I wanted to add, so I had to power on! I had a specific message in mind for this piece, so I wanted to add some words to it, so people would easily understand what I was going for. The theme of the Matchbox Gala is Small Resources = Big Possibilities, and my piece is about possibilities. I am all about wanting everyone to be open to unlimited possibilities in their lives. Anything is possible – you can do anything! The problem is that a lot of people don’t believe it. They don’t believe anything else is possible, other than their shitty situation. Well, I believe something else is possible. So, I decided to add those words to the piece:
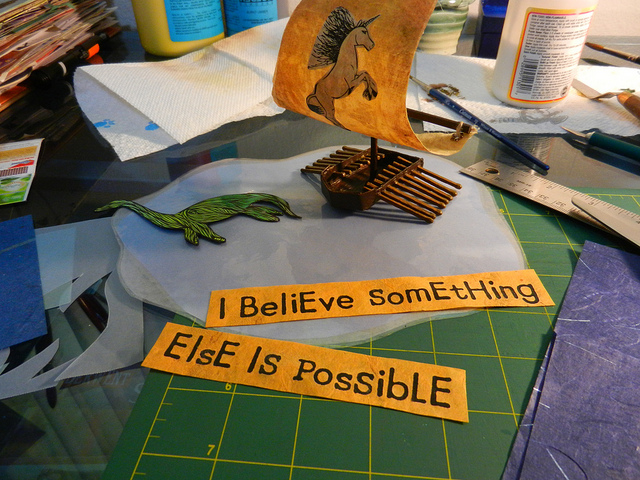
Matchbox Art - Adding Lettering

I found a couple sheets of textured paper in my stash that matched the color theme of the ship and the sea. I added the words to the orange paper using some rub-on letters. I didn’t have all of the letters I needed of the same font, so I just mixed it up. I think it looks cool! I used some dark blue textured paper to place beneath the orange paper with the words to give it depth. Then I glued the whole thing to the sea using Mod Podge:
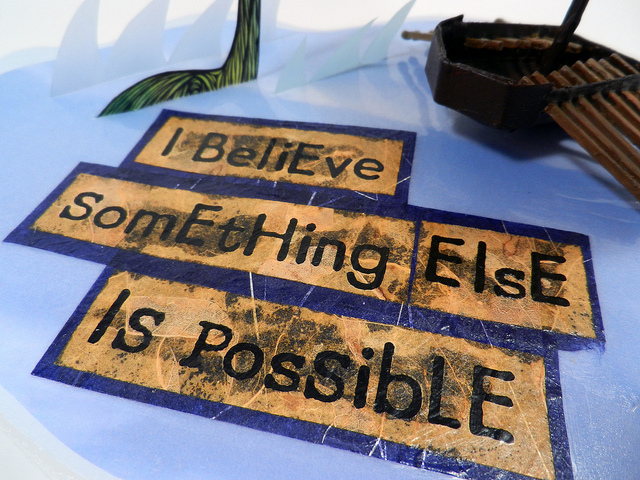
Matchbox Art - Lettering Close

The Mod Podge made the orange paper a little transparent in some areas, but I think it looks good.

At this point, I really seriously wanted to be done, like really bad, but I put it all together and I just thought it didn’t look quite done yet. The sea looked too flat. So, I added a few waves to the sea using some colored vellum paper. I cut the shapes out for the waves, then carefully cut slots for them in the sea so they stuck out perpendicular like Champy.
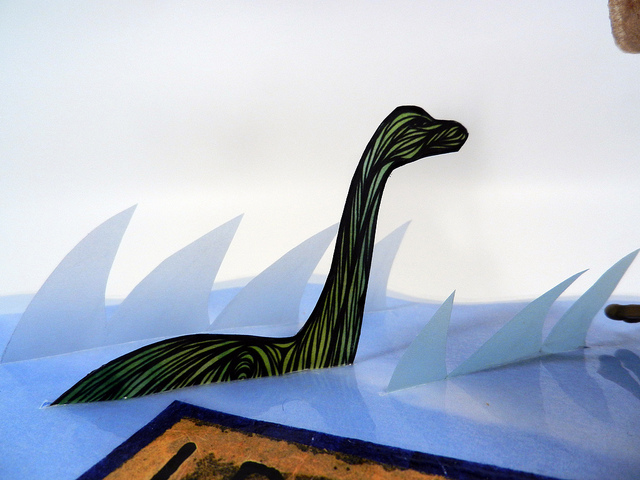
Matchbox Art - Champy Top Close

That was it! I was done! I glued the sea to the base, and then sat back and basked in it’s glory. My three day adventure (the glue and the waiting!) constructing this piece had come to an end!
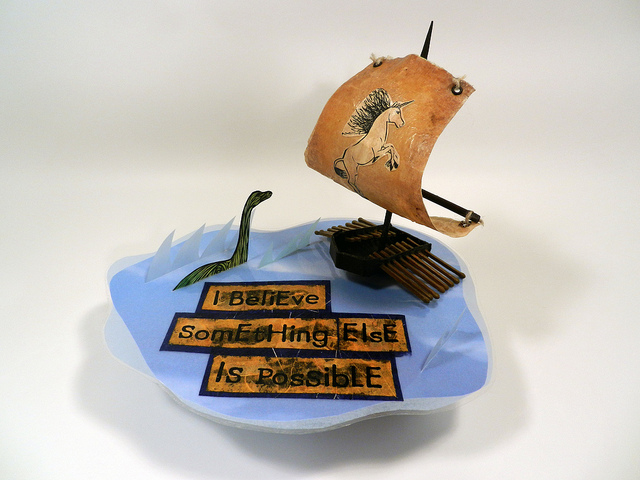
Matchbox Art - Finished Whole 2

This piece will be auctioned off with about 200 other matchbox masterpieces this Friday at the 2013 Matchbox Gala in Boulder, CO. I hope it gets some bids!
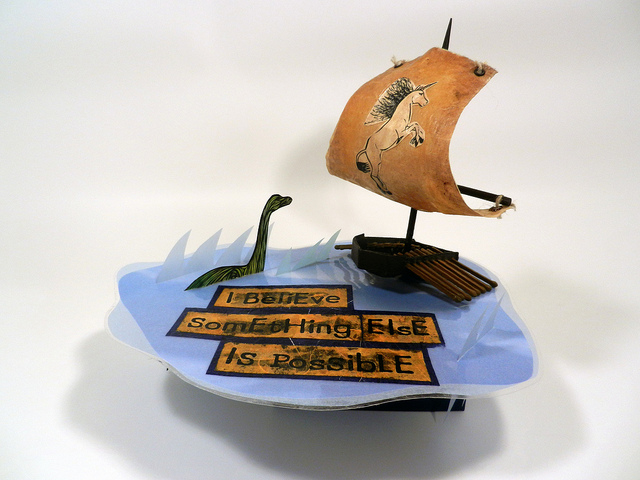
Matchbox Art - Finished Whole 3

Now to carefully pack it up and get it to Boulder by Friday. Yikes!
April Art Calendar Set Up

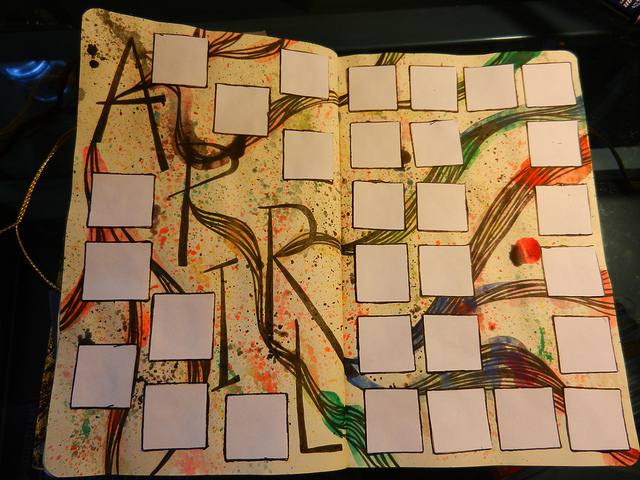
The beginning of April happened during my unanticipated trip home to upstate NY. I did this April art calendar quickly and with limited supplies:

April Art Calendar Set Up

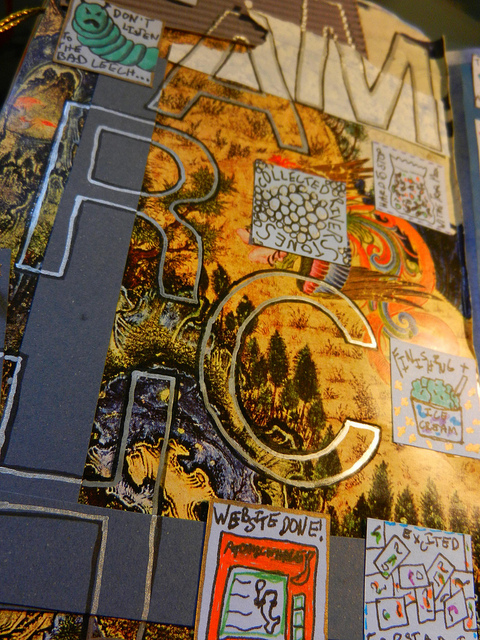
You’ll see I just drew the lettering with some swirling ribbons coming out of the them. Then, I just watercolored in a rainbow in the swirly ribbons. After that I had a little fun and added some rainbow splatters to the page. After that dried, I just added some white squares with glue, and outlined in black around them. I have never pre-outlined my squares like this before. I like the way it looks now, but I’m wondering if I will like it as I am journaling in the squares. We’ll see!

I am definitely taking a more “free” approach to my calendar layouts this year. Since I have so much more time to focus on other art projects now, my calendars are more of an afterthought. I think of the layouts more as experimental playtime. They are more spontaneous and quick rather than planned out and executed with perfection in mind.

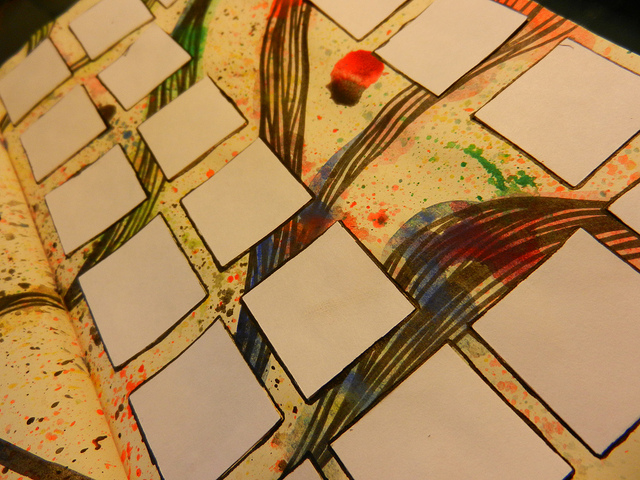
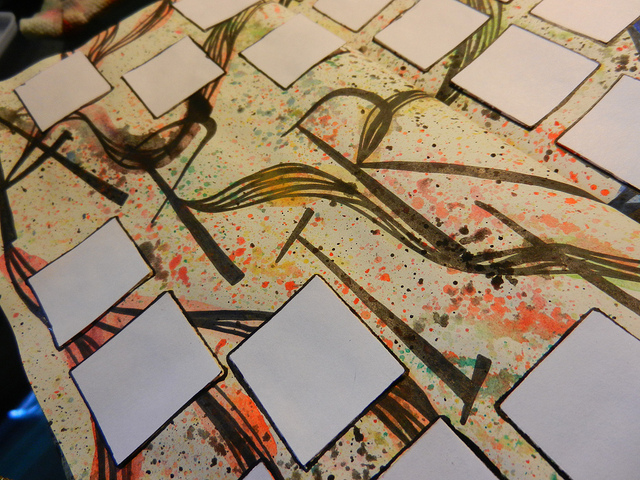
Here are a couple of close-up pictures:

April Art Calendar Set Up Close Up 1

April Art Calendar Set Up Close Up 2

March Art Calendar Filled In

This year, I feel like March came in like a lamb and out like a lion. This month was seriously, bananas. Here’s my art calendar all completed:

March Art Calendar Filled In

I managed to use a lot of bright colors in my squares this month, which always makes me happy when looking at them as a set. The latter half of this month was interrupted by an unanticipated trip I made back to my hometown of Plattsburgh, NY. It was for a sad reason, but I am very happy that I got to spend that time with my family. I look at the squares before that trip happened, and I see I also made a lot of progress on some of my goals, so that makes me happy too.

Here are some close ups of the squares:

March Art Calendar Filled In Close Up 1

March Art Calendar Filled In Close Up 2

T-Shirts Are Coming!

TShirtsAreComing

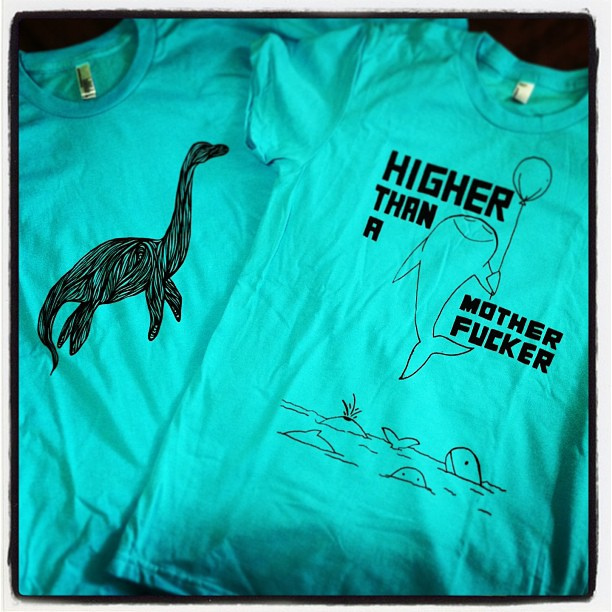
I had some T-Shirts with a couple of my designs printed by Threadbare Press, a local screen printer, and they are done and ready and in my hands! I had several of the popular “higher than a motherfucker” whale tees done, and a few swirly champy tees. I will have more details and better pictures once I get the listings up next week. This initial run is limited, so if you are interested in having one, I don’t recommend hesitating!

I am SO excited about listing these. I can’t wait!

New – Dinosaur and Animal Greeting Cards

After a couple days of testing and printing, I’ve got new greeting cards!

GreetingCardMosaic

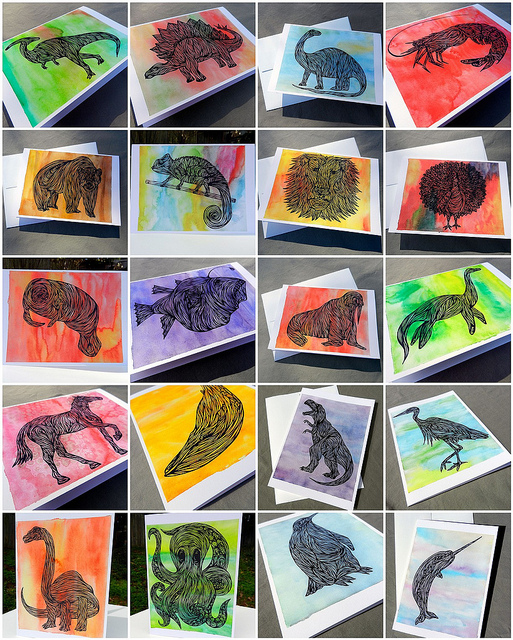
I’ve made each of my swirly drawings into a 5×7 greeting card. I got some really nice artist-grade cotton fiber card stock to print them on, and I am so pleased with the way the colors turned out. They are so bright and vivid, and the blacks of the swirly animals really pop out in contrast. These are just blank inside, so you can use them for any occasion like birthdays, thank you’s, thinking of you, etc. You could also use them as simple note cards. I also got some really nice smooth white envelopes to include with each.

I have added these all as individual items in my Etsy Shop. Next up for me is making sets of these cards, so you’ll be able to get 5 cards for the price of four. I’m thinking of doing a dinosaur set, a marine animals set, and then an open set where you can pick five cards of whatever you want!

You can see all of the cards in their own section here.

More Dinosaur Illustrations – Stegosaurus, Tyrannosaurus Rex, Parasaurolophus

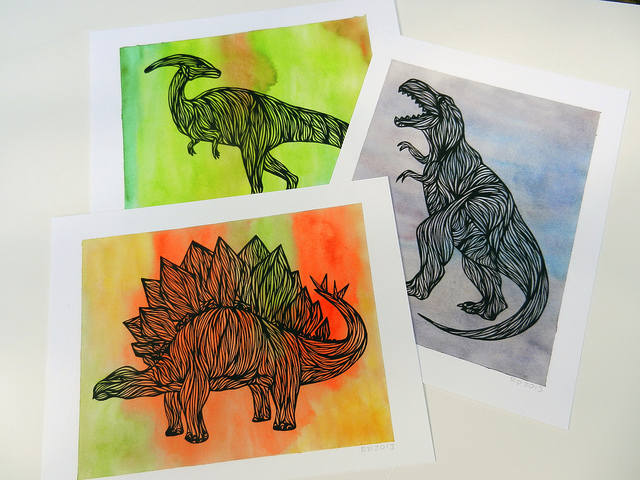
This week I have finished up a series of dinosaur illustrations. In my last post, you saw my brontosaurus drawings, and here you’ll see I’ve finished up the series with a Stegosaurus, Tyrannosaurus Rex, and some type of a Parasaurolophus.

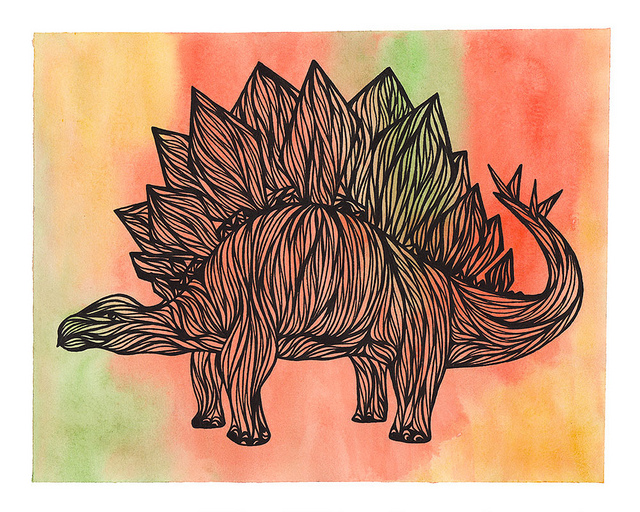
Here’s Mr. Stego:

Stegosaurus
My favorite dinosaur when I was a kid was the stegosaurus. I always thought his back plates and his spiky tail were so cool. He just looks the neatest. I really like how the background on this one came out. He’s sort of a reggae stego.

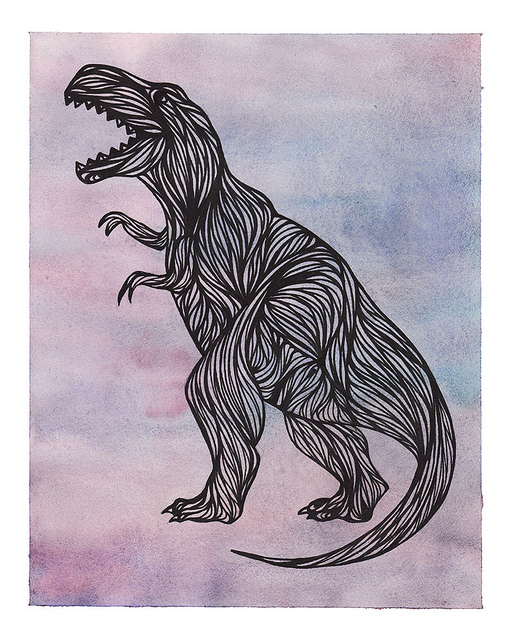
Tyrannosaurus RexWhat’s a dino collection without a T-Rex? Here he is, with his strong back legs, scary growl and wussy little arms. Don’t mess with him.

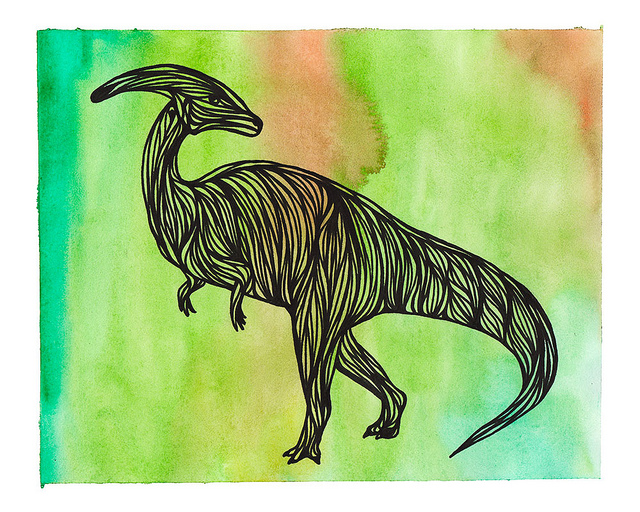
ParasaurolophusLast but not least, a generic parasaurolophus. Apparently there are a few different types of dinosaur species with this weird cranial crest. I added this guy in, because I always felt like he was also an iconic type of dinosaur, but no one ever seems to know what he is called. PARASAUROLOLOSAURAOLOFALOPAPHUS!

Dinosaur Prints

Look how cute they look all together! I have these as prints in my Etsy shop for now. If all goes well, I am planning to put a few of these dinosaurs on kids’ shirts. I can definitely see the stego looking really cute on a bright blue shirt in orange ink (or something like that).

Here are links to each of these three prints:

Next up on the project list for me are greeting cards and postcards! I’ll have all of my swirly designs available on cards pretty soon.

Signature

New Brontosaurus Illustrations & Prints

After a few weeks of doing a bunch of work on my computer, I was happy to sit down and get to some drawing again. After doing my Champy illustration, I wanted to do a few more types of dinosaurs. I loved dinosaurs when I was a little kid, and I still think they are fun now. One of my favorites right now is the Brontosaurus, or more properly, the Apatosaurus. I just love their long necks they use to chomp prehistoric palm frond-like leaves from the tops of high trees. I like how they hang out in ponds to soak and are gentle giants.

So, I sat down and did a couple swirly drawings.

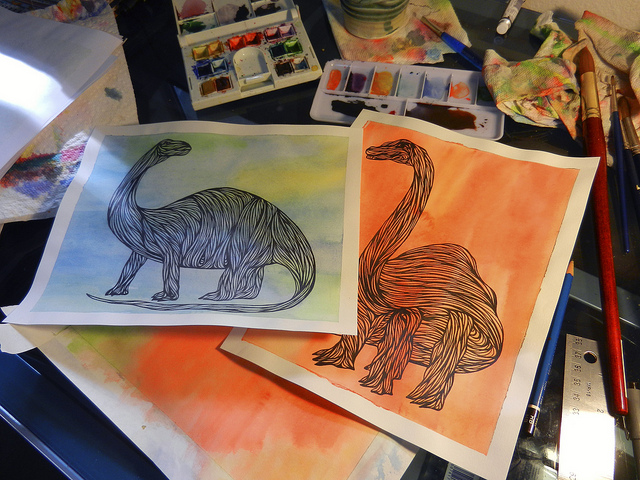
Brontosaurus Drawings on work table

I did the orange brontosaurus first.

Orange BrontosaurusAt first, I wasn’t sure I liked how he was coming out. I did his head and face first. I get really nervous when I do the faces of animals, because I feel like that’s where most of their personality comes from. Once I started finishing the rest of him, though, I got to liking him and his personality. I feel like he might not be the smartest bronty on the block, but he’d be a good friend.

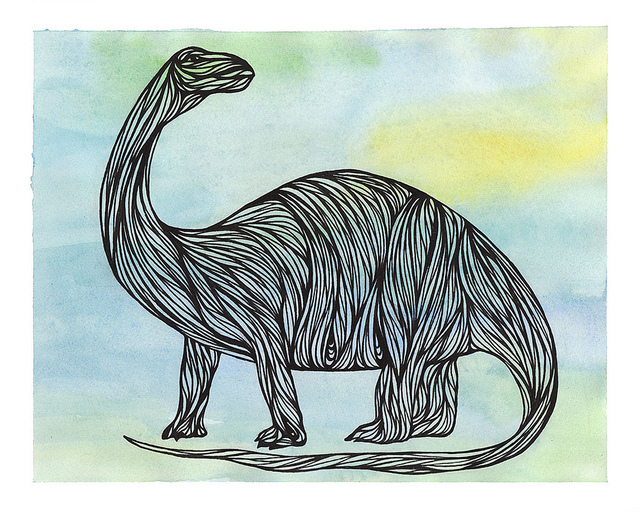
I wanted to try again to draw a more “cute” looking brontosaurus, and I came up with this:

Blue BrontosaurusI think he turned out cuter, even though he does have a little bit of a mischievous look on his face.

My dinosaur series is expanding, and I’m planning to do some more next – a stegosaurus, t-rex, and parasaurolophus (the one with the thing on it’s head).

Both of these brontosauruses (brontosaurii??) are available as prints.

Brontosaurus Finished Prints

Find them in my Etsy shop, or use individual links to each listing:

Just Say No Art Postcards Are Sent!

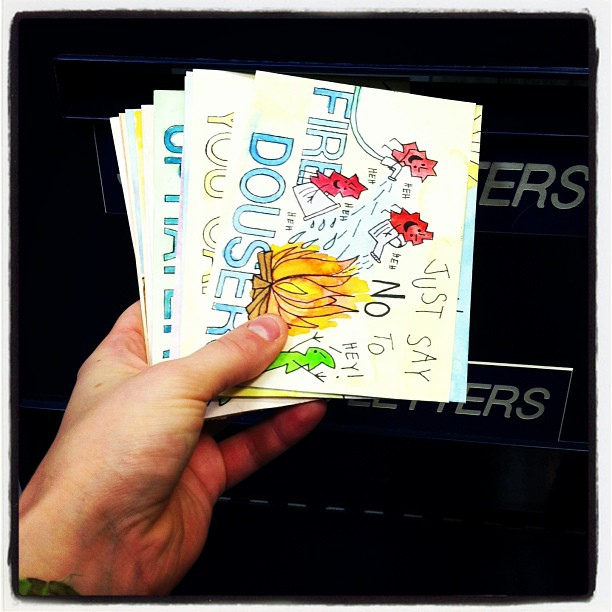
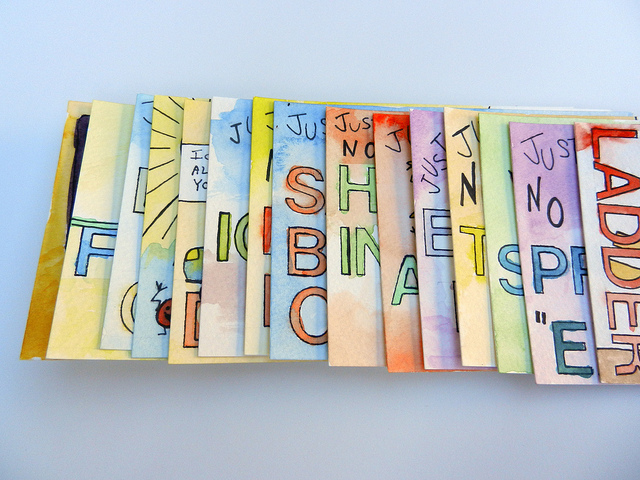
Postcards-Mailed

Thank you to everyone who participated in my ‘Just Say No’ postcard giveaway! I just dropped off all of the cards at the post office. You lucky ones should see yours soon.

Some people were asking in the comments how they could get a copy of the whole set. I am thinking about turning these into a poster or a set of note cards, which I would make available for sale at Etsy. Right now, I am leaning toward note cards (or post cards). All of the post cards, except ONE (of course) have landscape orientation, the ‘Someone Else’s Ladder’ one has portrait orientation, so I’m having a hard time thinking about how they would look in a poster if they couldn’t be in a nice even grid. I will keep you posted!

Just Say No – Postcard Series Giveaway

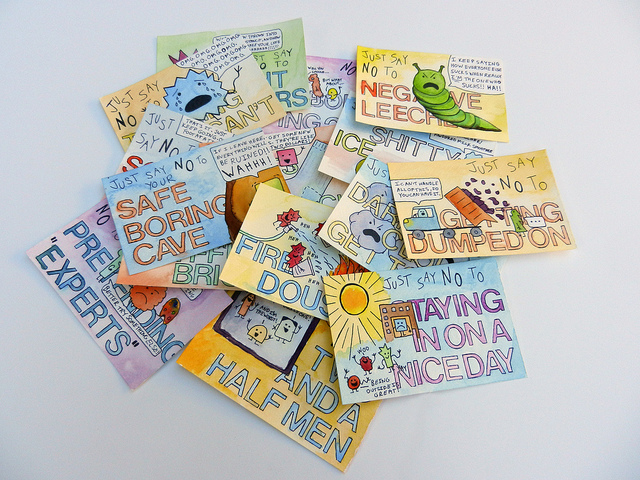
Just Say No Postcards - Finished Pile 1

As a celebration of my new website and Etsy shop, I wanted to do something special for my early blog readers. I started drawing this series of postcards, and I thought these would make a great giveaway!

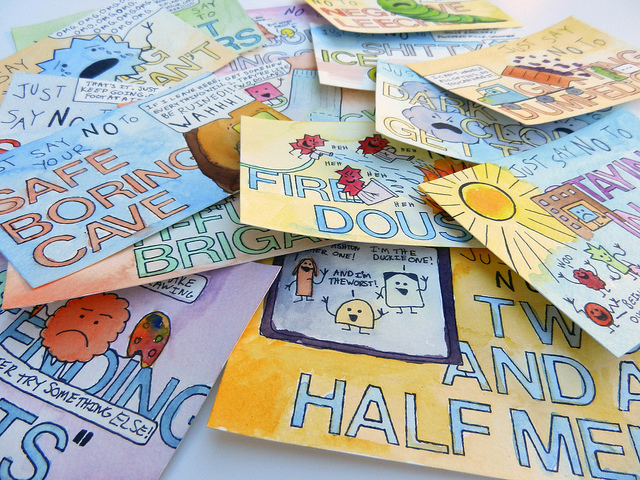
Just Say No Postcards - Finished Pile 2

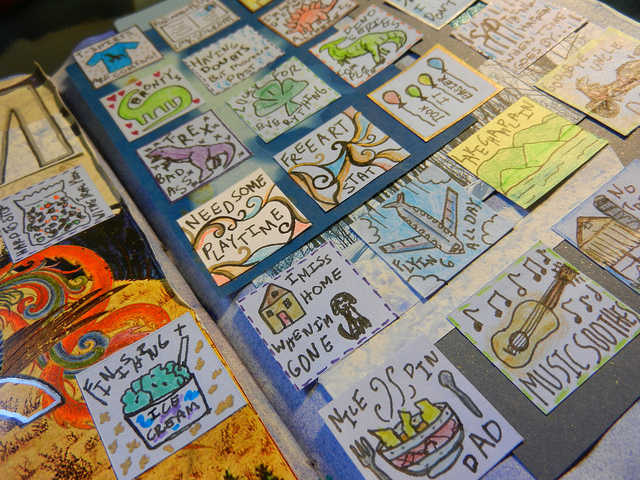
I’m calling this series of 15 postcards “Just Say No” and they are both silly and personal. About 5 months ago, I left my corporate job to blaze my own trail. This was a super hard (but ultimately wonderful) decision for me to make. I had to work through a lot of mental stuff while getting ready to take this leap. During the leap, and even now, I am still working on developing better mental habits. A lot of that work is learning to believe in myself – that I can handle any situation that comes up, that I have what it takes to accomplish whatever I want to, and that everything is going to be ok, because I am in control. The other side of that is learning to let go of things that no longer do me any good. Each of these postcards represents something that I’m just saying “NO” to. Something that I’m letting go.

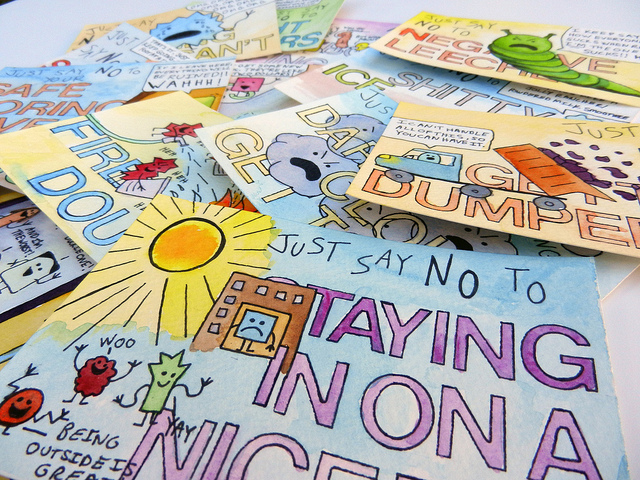
Just Say No Postcards - Finished Pile 3

They are a little funny, a little sad, and a little hasty. Some of them have to do with individual personal thoughts, many have to do with relationships with others, and a few are just silly things. The cards having to do with outside relationships are the ones that were the most interesting, fun, and meaningful to make. As I was making some of these, I thought about situations where I was on each side of the relationship.

Just Say No Postcards - Finished Pile 4

By recognizing and calling out my fears, worries, and excuses, it’s easier for me to put them aside and make things happen instead. I want to give these postcards away, because I want you to know that you can push through your barriers and let go of the things that no longer do you any good, and be your best, awesome self. You can! And, both you and the world will be better for it.

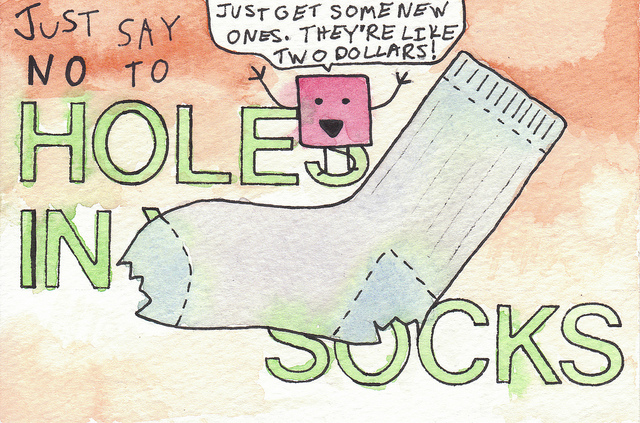
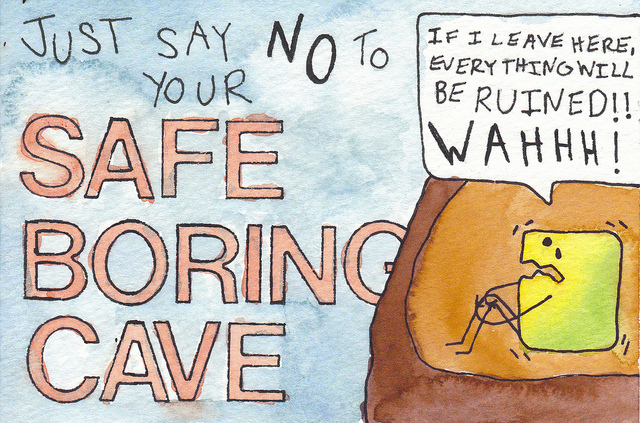
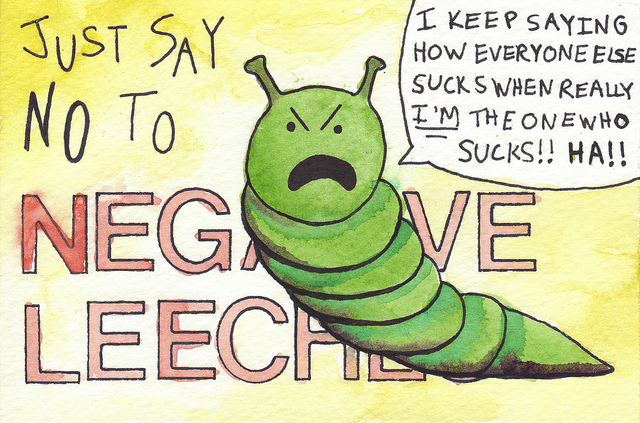
Now for the fun part. Below, you can see detailed pictures of each of the 15 postcards. I hope they make you smile. Keep reading below the pictures to find out how you can get one of these original, hand drawn, hand painted postcards in your mailbox!

Just Say No Postcards - Holes in your Socks

Just Say No Postcards - Safe Boring Cave

Just Say No Postcards - Negative Leeches

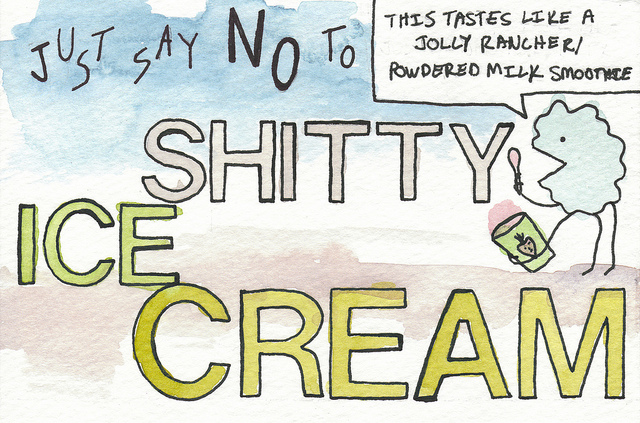
Just Say No Postcards - Shitty Ice Cream

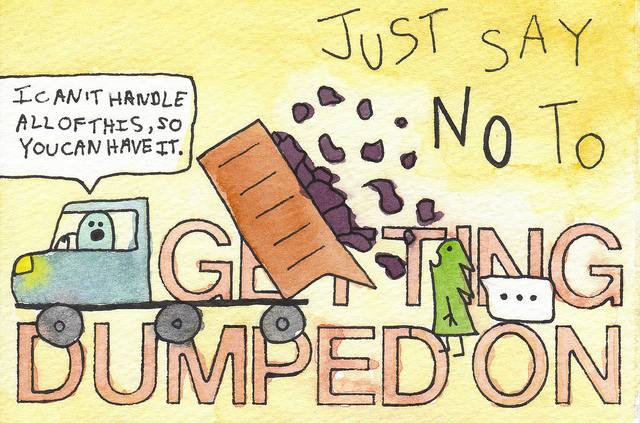
Just Say No Postcards - Getting Dumped On

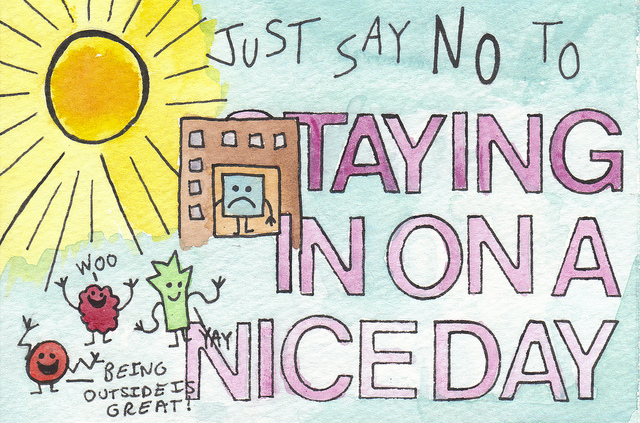
Just Say No Postcards - Staying in on a Nice Day

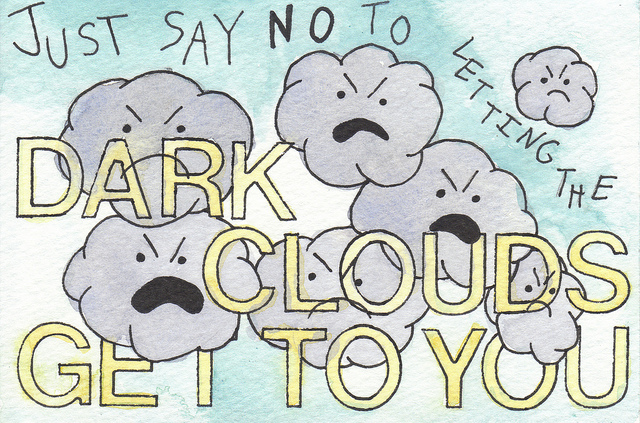
Just Say No Postcards - Dark Clouds

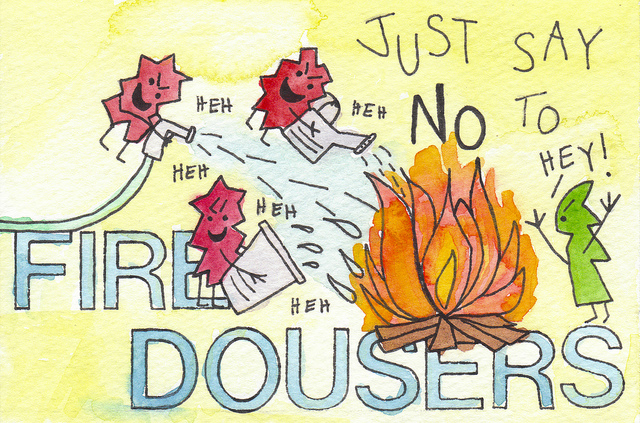
Just Say No Postcards - Fire Dousers

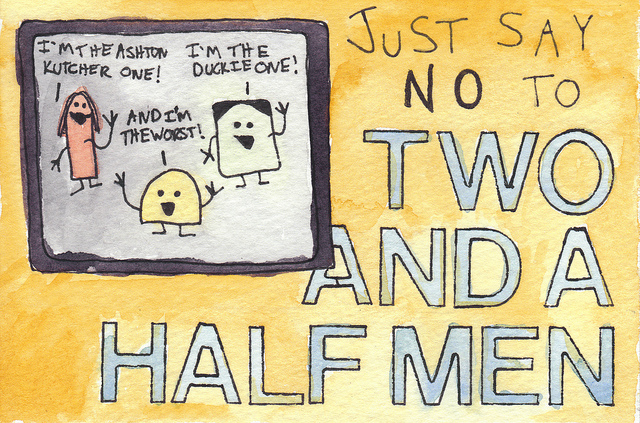
Just Say No Postcards - Two and a Half Men

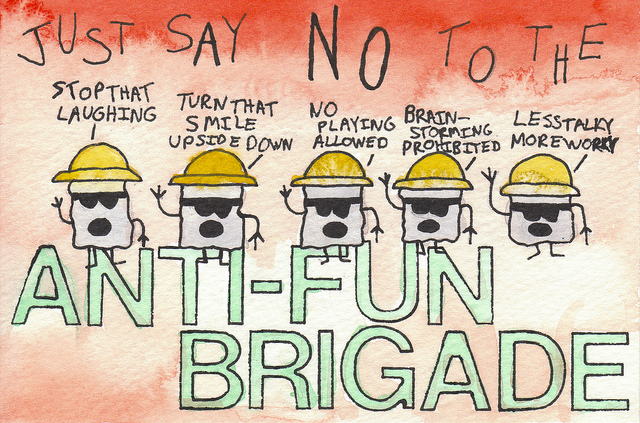
Just Say No Postcards - Anti-Fun Brigade

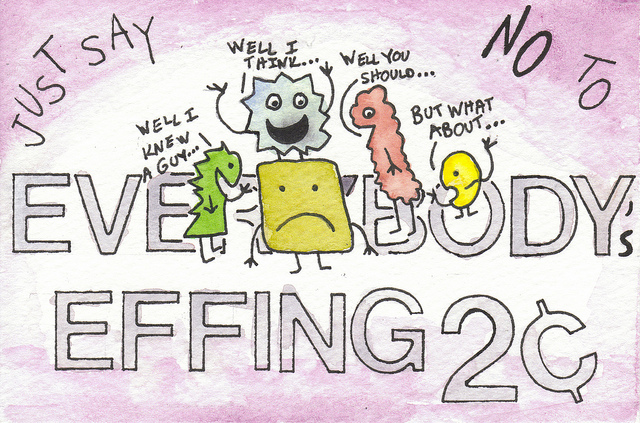
Just Say No Postcards - Everybodys Effing Two Cents

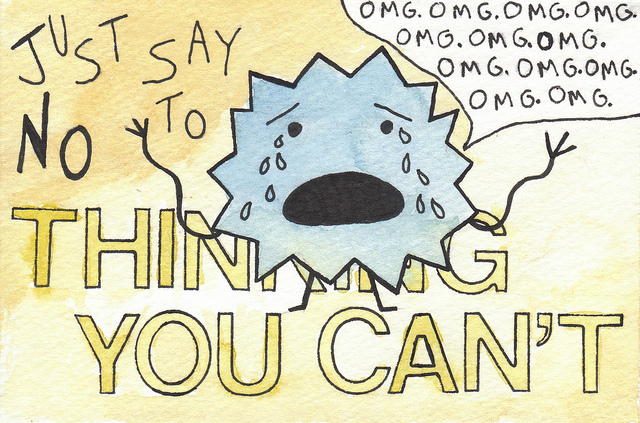
Just Say No Postcards - Thinking You Cant

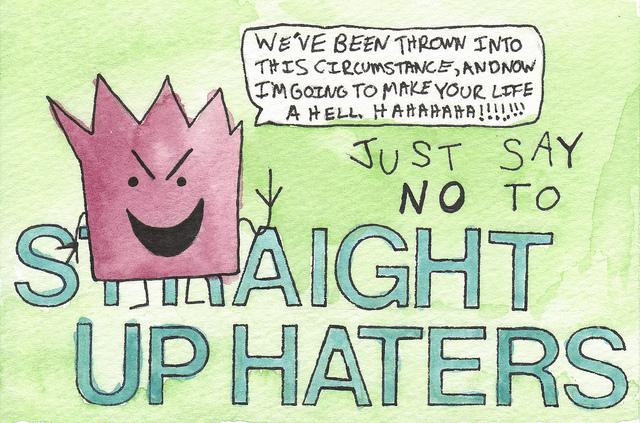
Just Say No Postcards - Straight Up Haters

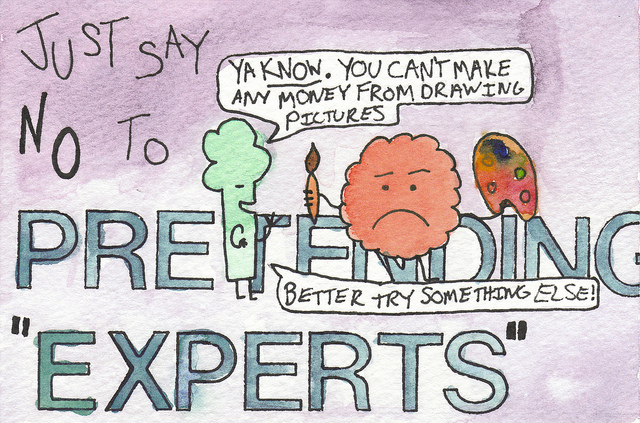
Just Say No Postcards - Pretending Experts

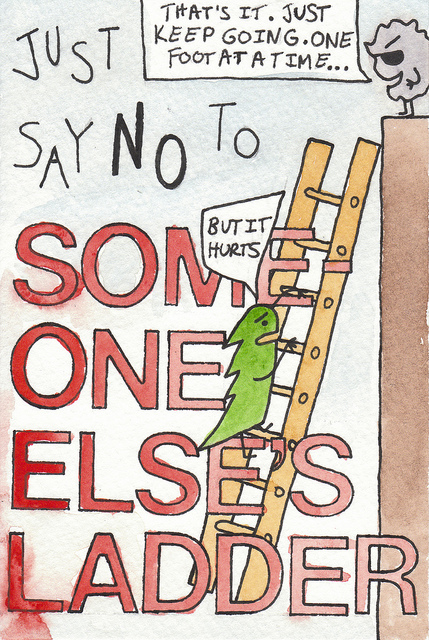
Just Say No Postcards - Someone Elses Ladder

Now for the REALLY fun part! Be one of the FIRST 15 people to comment on this post, and I will mail you one of these original postcards.

If you are one of the lucky ones, I will email you to get your mailing address. I will write a personal message to you on the back of the card, and send it off to you! One postcard per winner. If you post more than one comment, and they show up within the first 15 comments, you will still only get one postcard. I choose the postcard you will get – you’ll be surprised when it arrives!
Thank you so much for being one of my early blog readers. I cannot wait to give these away!
Update 3/12/13 – This contest is now closed, and all postcards have been mailed to the winners. 🙂